
Create and verify an account
Account creation uses a backend registration request followed by a one-time email verification challenge. Registration alone does not sign you in.
- Typical time
- 5–10 minutes
- You need
- Your own email inbox
- Outcome
- A verified ScrinCloud account
Open the correct sign-up link
Section titled “Open the correct sign-up link”- Open the approved ScrinCloud sign-up page.
- If you received a project invitation, use its original Sign up link so the invitation token and invited email remain attached.
- Confirm any prefilled email is yours.
- Do not edit, share, or copy invitation tokens from the URL.
ScrinCloud accepts only an internal safe return path. Missing, external, protocol-relative, login, sign-up, email-verification, and two-factor return destinations fall back to the dashboard.
Create the account
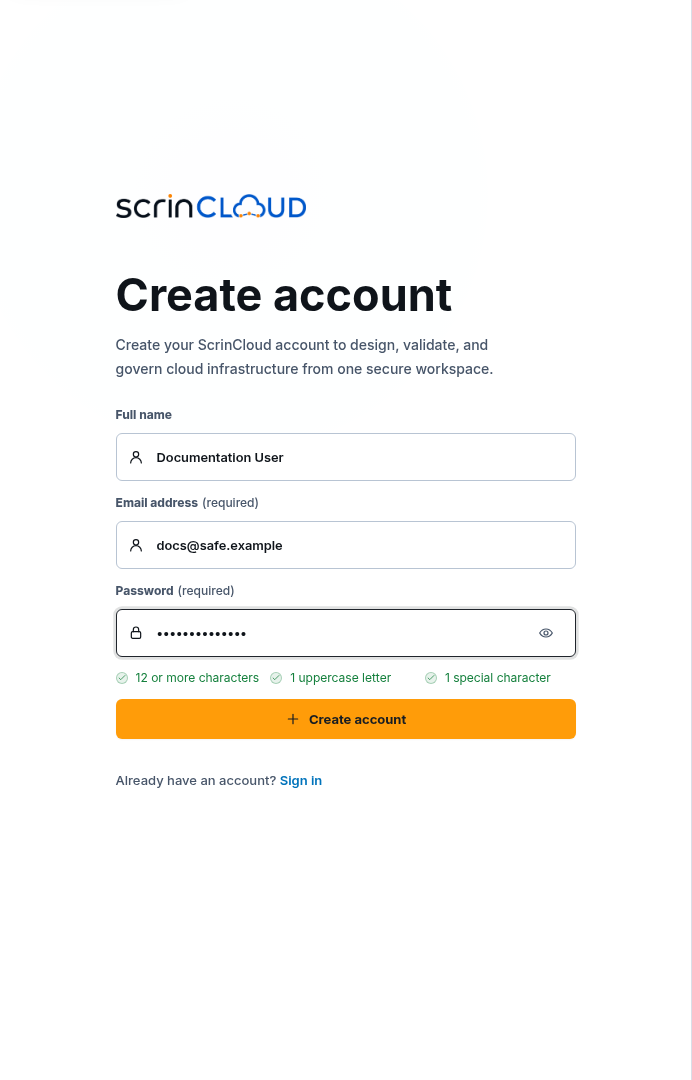
Section titled “Create the account”- Enter Full name.
- Enter Email address.
- Enter Password and follow the displayed password requirements.
- Use Show password only when nobody else can see or record the screen.
- Choose Create account once and wait for Creating account….
The form sends the name, normalized email, password, and any invitation context to the authenticated account service. Never reuse a password from another service.
Check your result
Section titled “Check your result”The page changes to Verify your email. A registration error remains visible until dismissed or corrected.
Verify the email
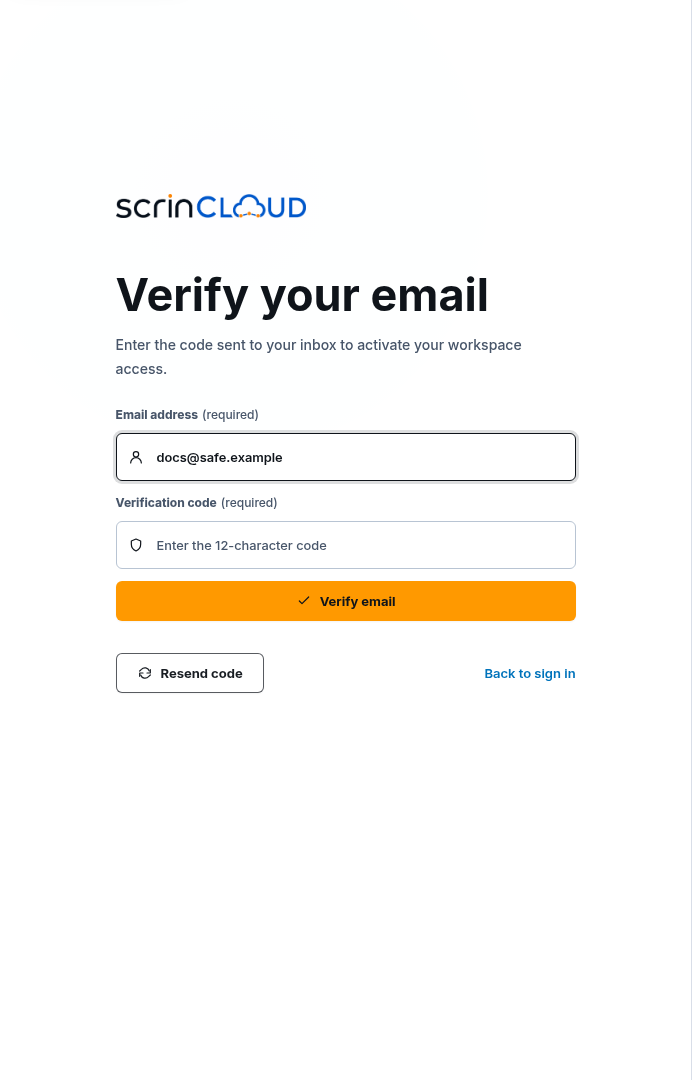
Section titled “Verify the email”- Open the newest verification message in your own inbox.
- Return to Verify your email.
- Confirm Email address matches the account.
- Enter the Verification code exactly as sent.
- Choose Verify email and wait for Verifying….
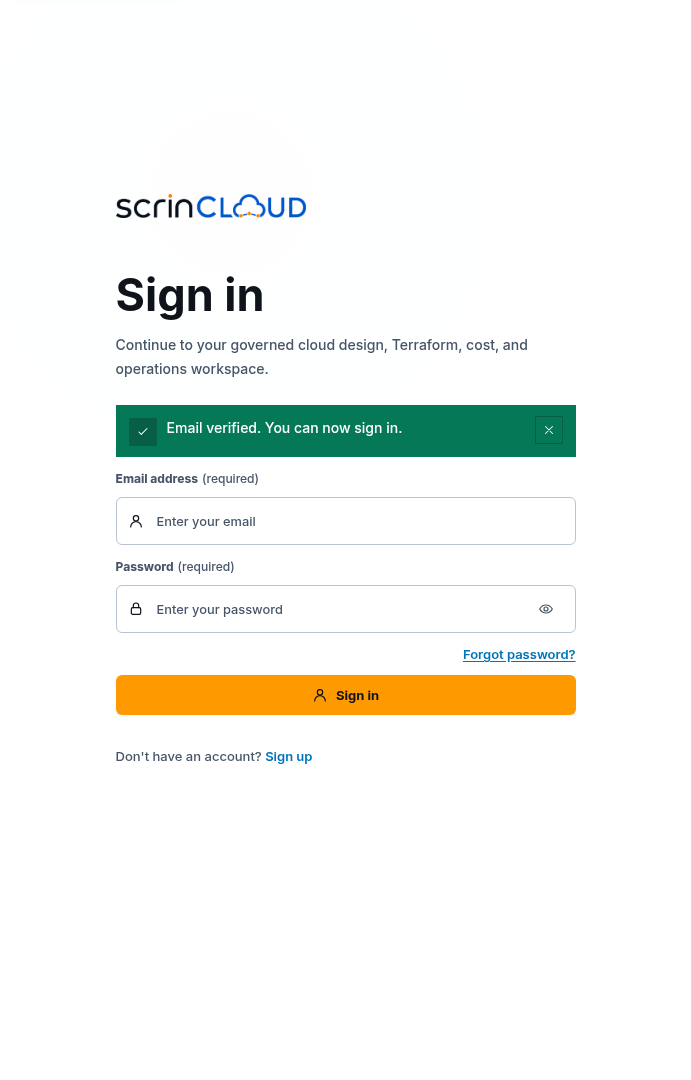
- On Sign in, confirm Email verified. You can now sign in.
The current interface expects the displayed 12-character code. Treat it as a short-lived secret and never place it in a screenshot or support message.
Check your result
Section titled “Check your result”The sign-in page shows the verified status. Verification activates sign-in eligibility; it does not grant access beyond the attached invitation and normal authorization rules.
Resend a verification code
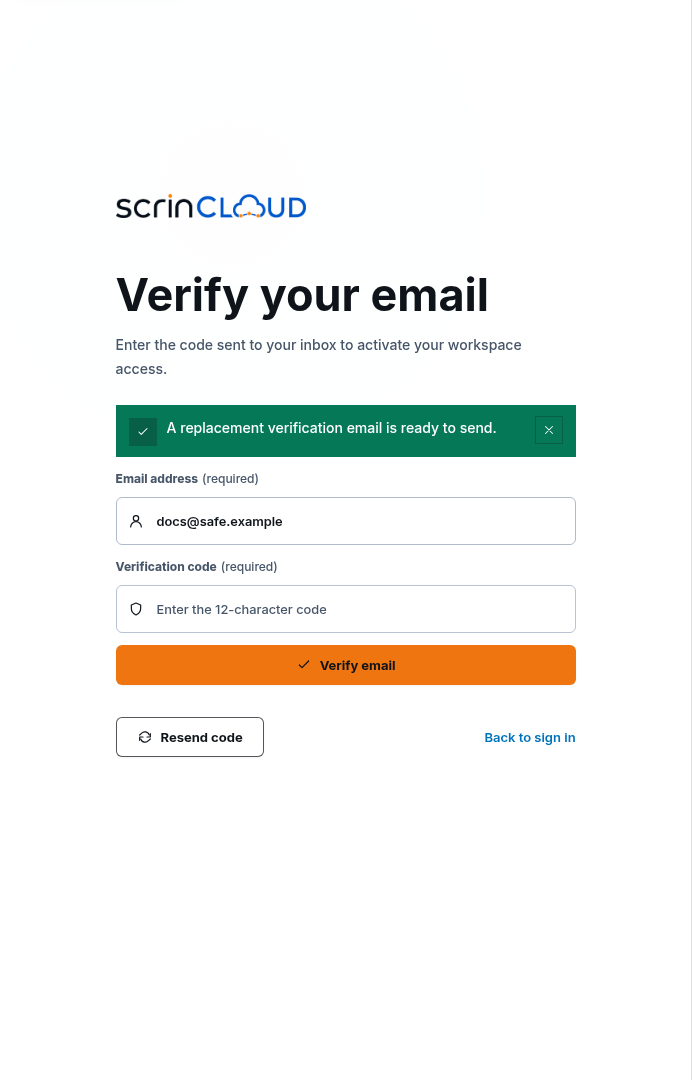
Section titled “Resend a verification code”- Confirm Email address is correct.
- Choose Resend code once.
- Wait for Sending… to finish.
- Use only the newest message.
- If you want to stop, choose Back to sign in.
Resend is a backend mutation and may be rate limited. Repeated resends can make earlier codes unusable.
Sign in or stop safely
Section titled “Sign in or stop safely”Choose Sign in from the create-account page when an account already exists. Choose Back to sign in from verification when you do not want to continue. These are navigation actions and preserve only a validated internal return path.
Common blockers
Section titled “Common blockers”Create account is disabled
Section titled “Create account is disabled”Complete the email and every visible password requirement. Do not weaken the password to make the button available.
The invited email is wrong
Section titled “The invited email is wrong”Stop and ask the inviter to correct the invitation. Do not register another person’s address or strip invitation context from the link.
The code is invalid or expired
Section titled “The code is invalid or expired”Choose Resend code once and use the newest code. Do not guess or repeatedly submit an old value.
No message arrives
Section titled “No message arrives”Check the correct inbox and filtered mail. Wait for the normal delivery window before one resend. Use verified support if delivery remains unavailable.